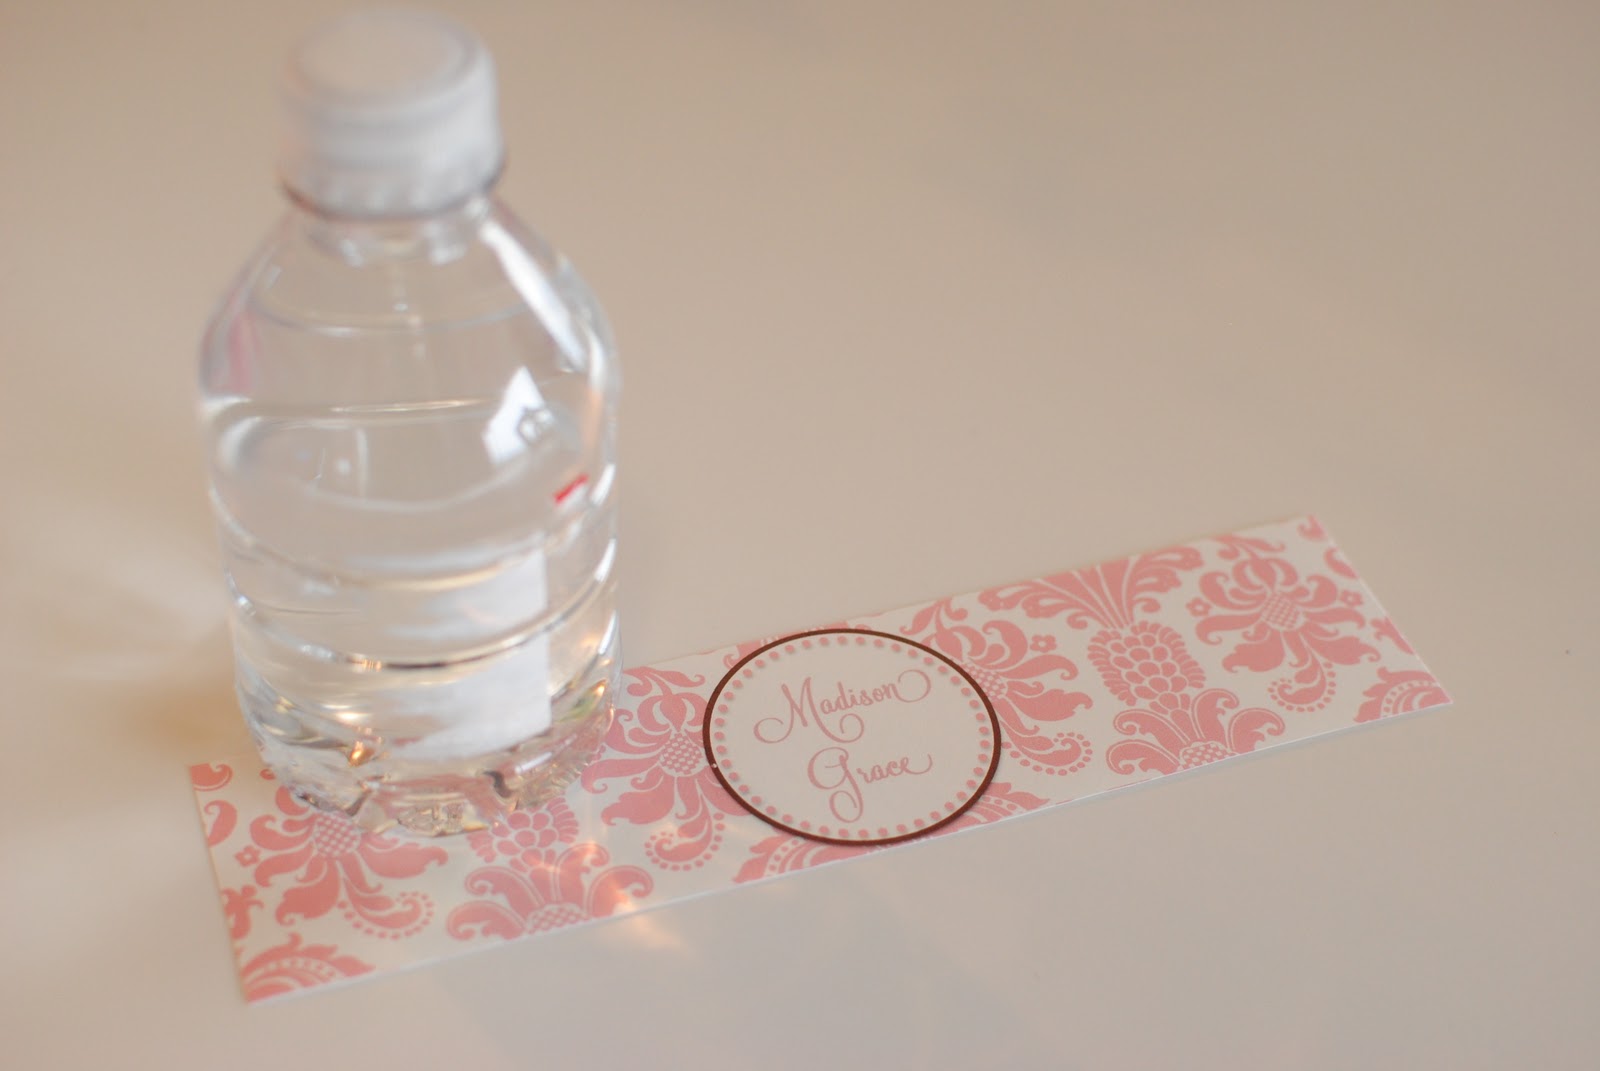
I've always thought it's fun to have personalized water bottles at special events. Over the years, I've tried different methods to make my own labels. I've used actual labels/stickers in the past, but I've found the problem with those is that if they get wet, the ink will run. So when I came across this idea waaay back when I was planning my wedding, I thought I'd give it a try. I saw it on a message board so I have no clue who gets credit for the original idea, but I think it's genius. Here's the scoop!
What you need:
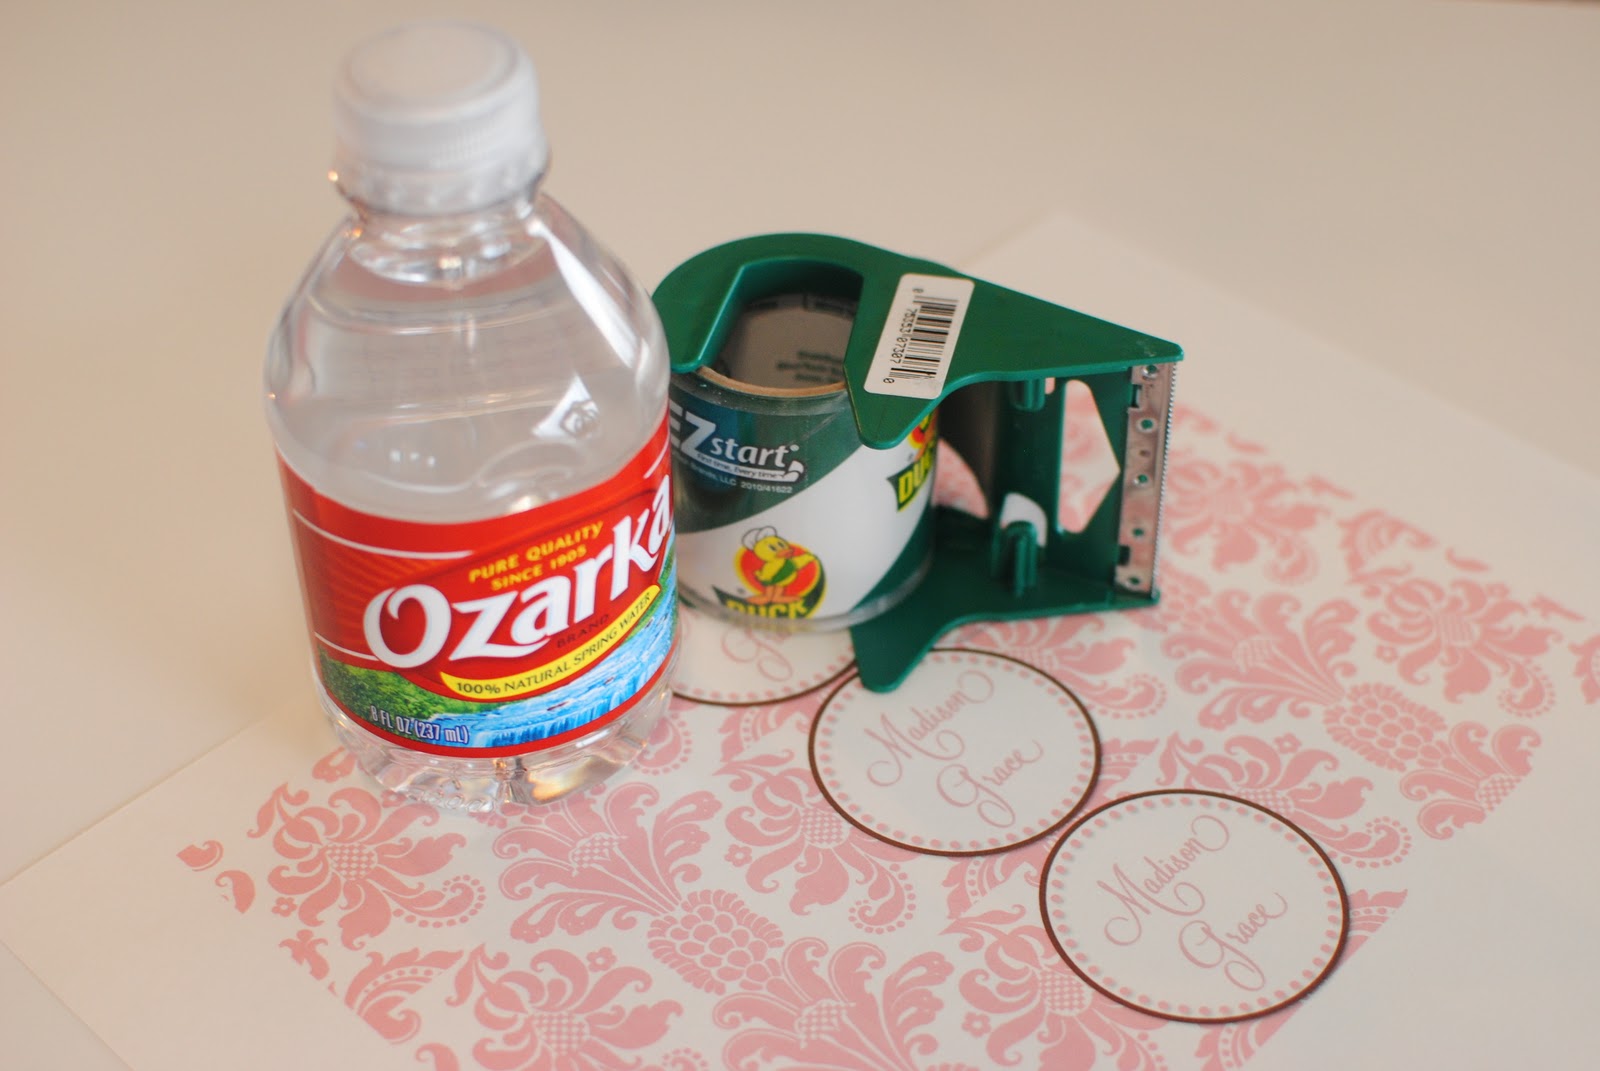
- Water Bottle
- Cardstock
- Packing Tape
2. Print your design on cardstock for added durability. The way I laid mine out, I'm able to get 3 labels per page. (You cold actually get 4; I just never added another one. Silly, I know.) Anyway, cut your labels out and set to the side.
3. If you haven't already done so, remove the label that came on the water bottle. It's okay if some residue remains because it's going to be covered up, but you want to remove as much as you can.
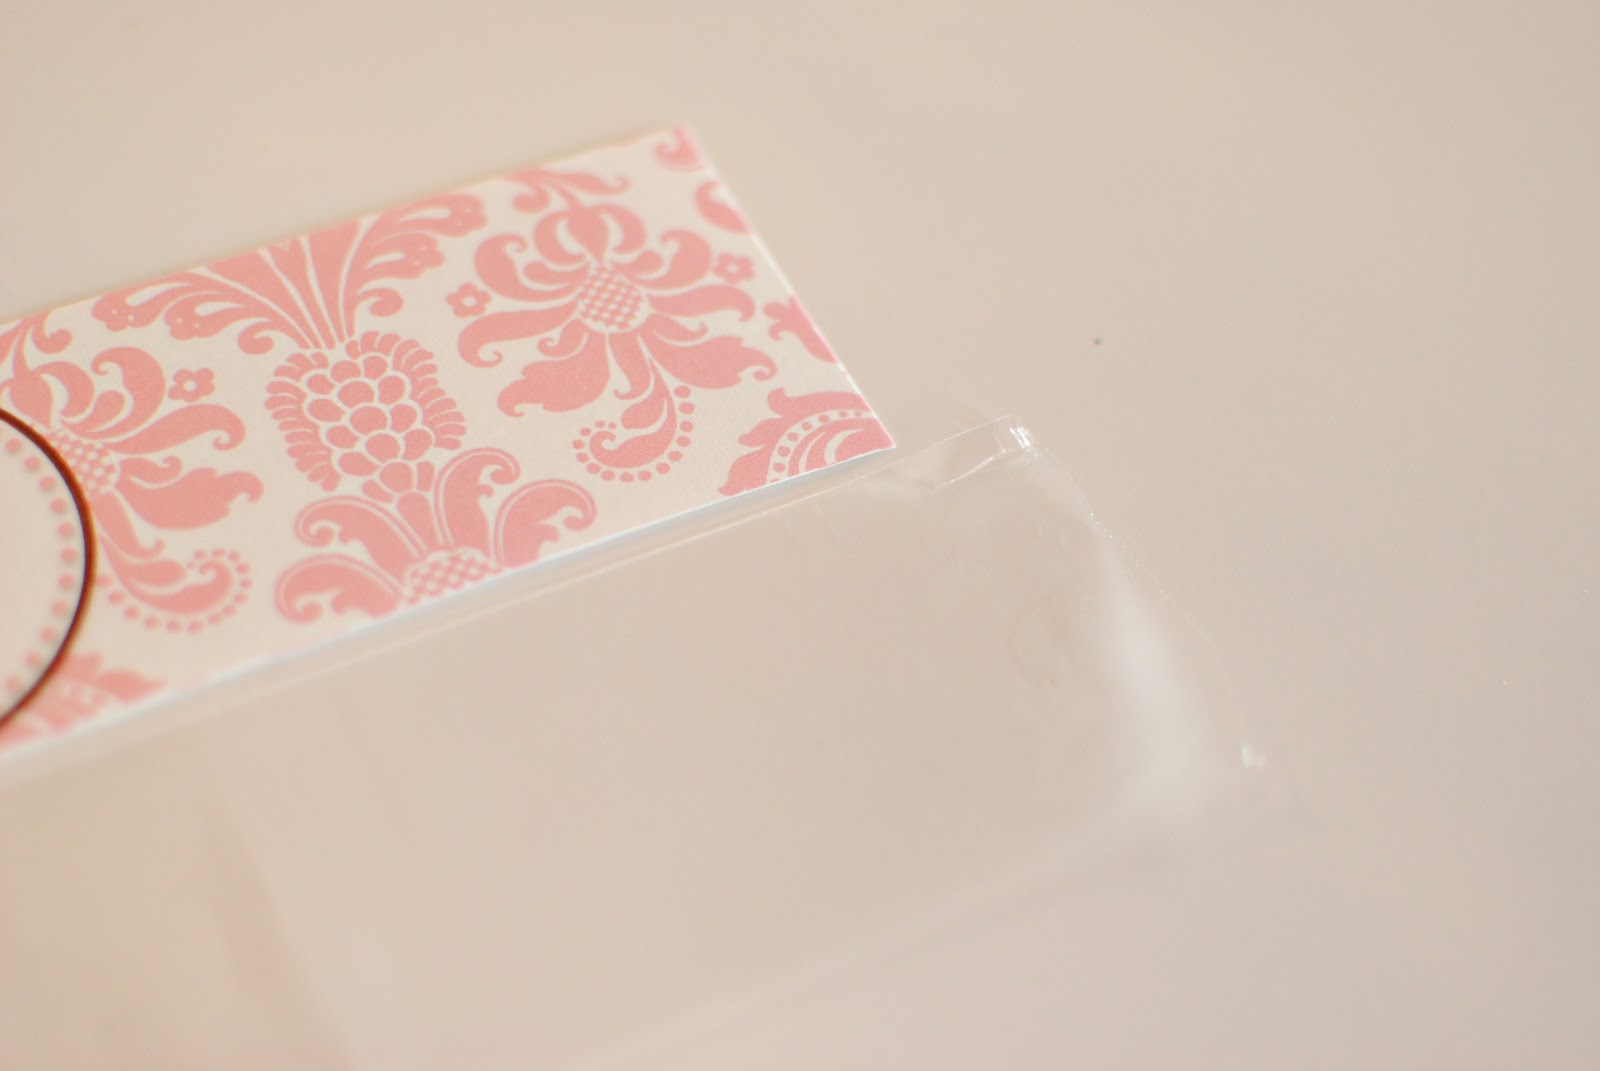
4. Pull out a strip of packing tape a little longer than your label. Lay your label face down on to the tape.
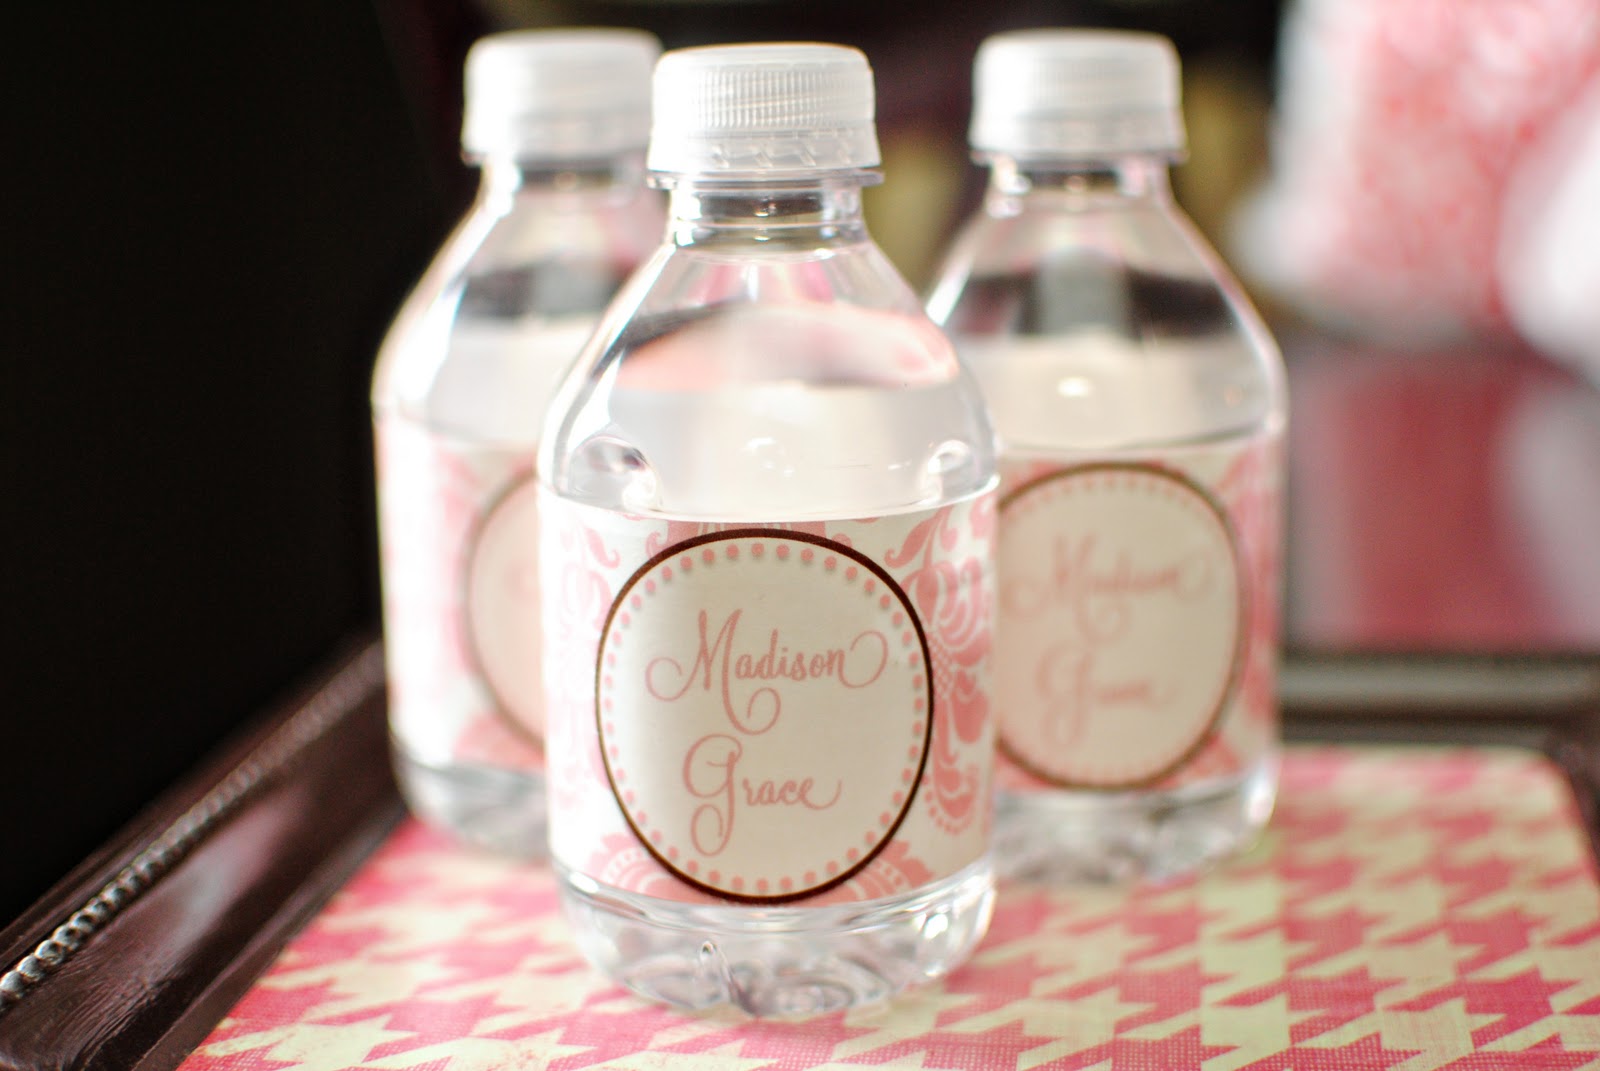
5. Carefully wrap your label around the water bottle, pressing the tape firmly all the way around to secure it to the bottle.
Now go have a party...enjoy! :)


Thank you so much I am so saving this post!
ReplyDeleteThat is such a smart idea! I wish I had done that for my son's party this past weekend. Oh well-- another reason to have another party ;)
ReplyDeleteUmm did you know I was just trying to figure out where I was getting labels from?!? I love you for this!!
ReplyDeleteGENIUS!!!! LOve it!
ReplyDeleteYou are so creative! These turned out awesome!
ReplyDeleteVery cute! I actually just recently made these for my SIL's 30th birthday! Yours are much better than mine!
ReplyDeletethis is great and so simple! it always seemed too complicated so i never attempted it but now it seems not too bad!! thanks for sharing!
ReplyDeleteThose are adorable!!!
ReplyDeleteWhen I made yours for Manny's Sip & See, I fed each one through a sticker maker...this way is sooo much easier!!
ReplyDeleteThese are so adorable! Great idea.
ReplyDeleteok yes super cute!! but i need blue for boy, and i can't seem to know how to insert my own backround, let alone know where to get one from, can you help? 2 hours of trying, so thought i would ask. I am having a Ahoy It's a Boy shower for my sister this Sat. and i waited to do this, because i didn't know that i would have such a hard time. Thanks
ReplyDeleteLOVE it!! Thanks for sharing!
ReplyDeleteEXACTLY what I was looking for! THANK YOU!
ReplyDeleteHey !
ReplyDeleteit is really cool and creative thing that you just shared with us. thanks
I wish I would have run across this at this time last week!
ReplyDeleteThe packing tape is such a good idea! I needed this post!
ReplyDeletewow...exactly what I was looking for! THANK YOU! THANK YOU! THANK YOU!
ReplyDeleteWhere did you get the background from? & What font did you use for this?
ReplyDeletethank you very much for creating and sharing this file! I just edited it and printed some off :-)
ReplyDeleteTHANK YOU!!!!!
ReplyDeleteThanks so much for this simple and sweet tutorial!!! I made my own DIY water bottle on my blog and posted a link to life {Sweet} life :)
ReplyDeleteJust made some labels for a 40th birthday party I'm hosting! Thanks to your instructions! THANK YOU!
ReplyDeletehttp://tisablessingtobe.blogspot.com/2012/12/i-love-wendell-party.html
ReplyDeleteThought you might enjoy seeing the labels I made from your tutorial = thanks again for your instructions! The water bottles were a big hit at the party!
Thanks! I used your label for one of my fund raising gifts!
ReplyDeleteThanks! I used the pretty labels for one of my fund raising gifts!
ReplyDeleteThank you!!! I just made some labels for my boss' baby shower. Hope you don't mind, but I linked your blog when I made them.
ReplyDeletehttp://juliannashelps.blogspot.com/2013/03/baby-shower.html
Great idea! Thanks.....used idea for 90th birthday celebration.
ReplyDeleteVery helpful post for me....you don't know how it helps me arrange birthday party for my kids. I think these type of labels looking awesome when i paste with party utensils and bottles. I just want to know more about custom printed labels also. If you tell me then i regards you.
ReplyDeleteToday every single product needed label which tell about its whole details related to its price,manufacturing,country etc. This brilliant post made my day memorable....But I also want to know much more about the custom printed labels in your next post!!
ReplyDelete